Phone:
0418 437 452 - Scott
Email:
Mailing Address:
P.O. Box 542,
Turramurra, NSW 2074
Using the services of Northshore Builders takes the difficulty out of building.
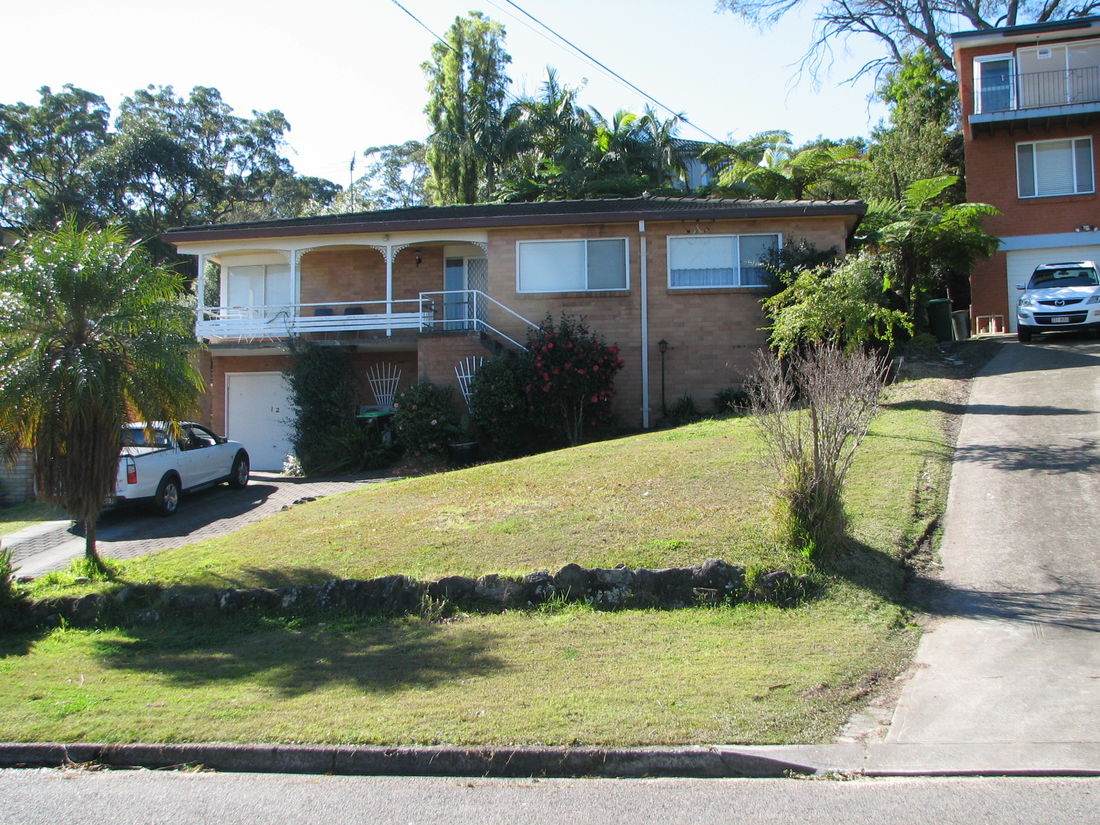
| Northshore Builders were approached by the owners of this single storey, single garage, brick veneer home....They had a growing family and they needed to expand.
I have used this project as an example for the Lets Start Building page, because it includes most of the processes used in residential alteration and additions; Basement construction, Addition construction, First Floor Addition construction, Wet Area Construction and General Renovation.
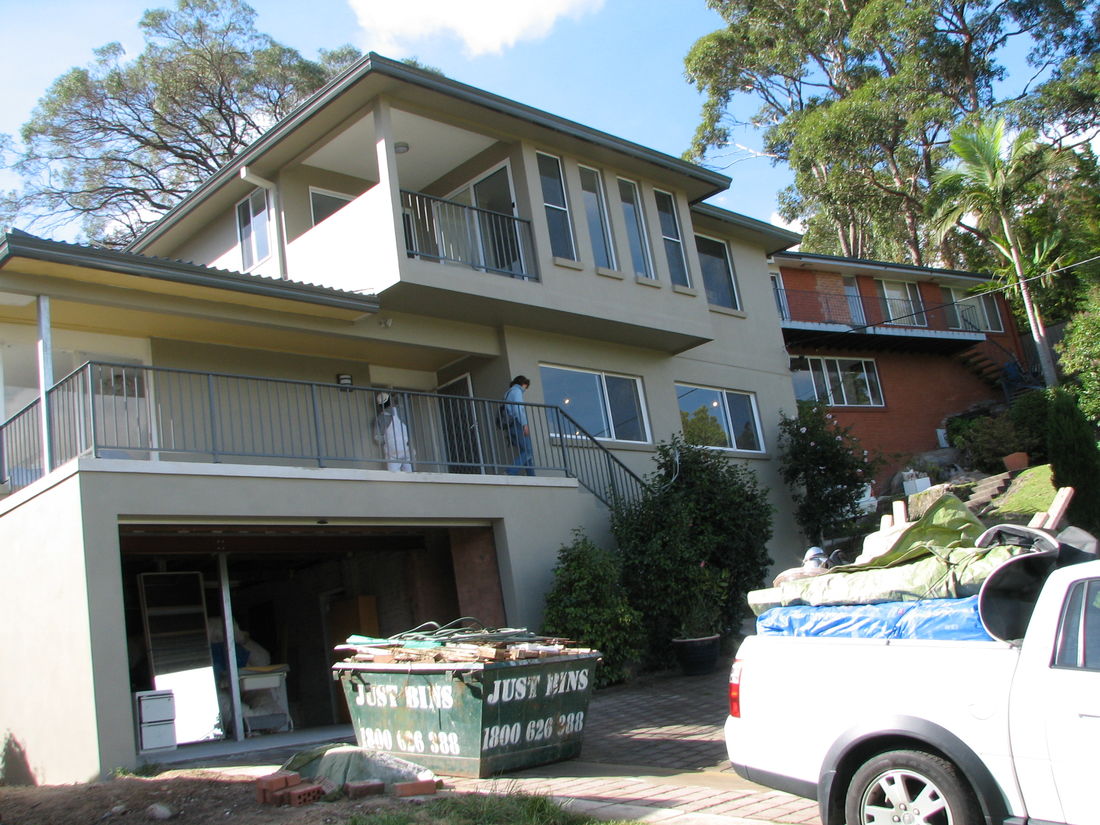
Northshore Builders added a first floor addition, renovated and opened up the existing house and transformed the single garage into a double.The existing brickwork was rendered and the first floor was texture coated to match. New roof tiles were added to all roof areas. Scott Andresson, of Northshore Builders has spent all his working life building, extending and renovating residential properties.
The home owners wanted to stay as occupants in the house whilst the renovation and extension was occurring, so the works started on elements that did not involve the main "Living area" of the home.Many people do not wish to move during renovation works and Northshore Builders do what they can to accommodate this requirement.
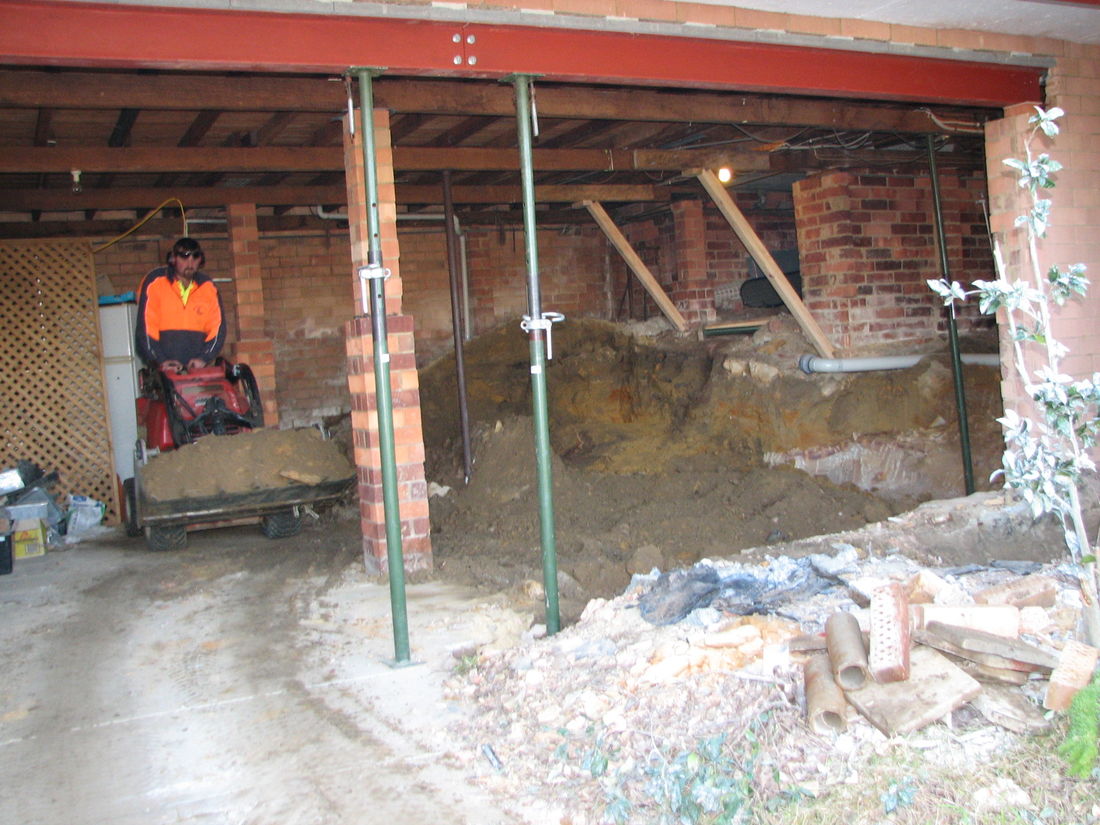
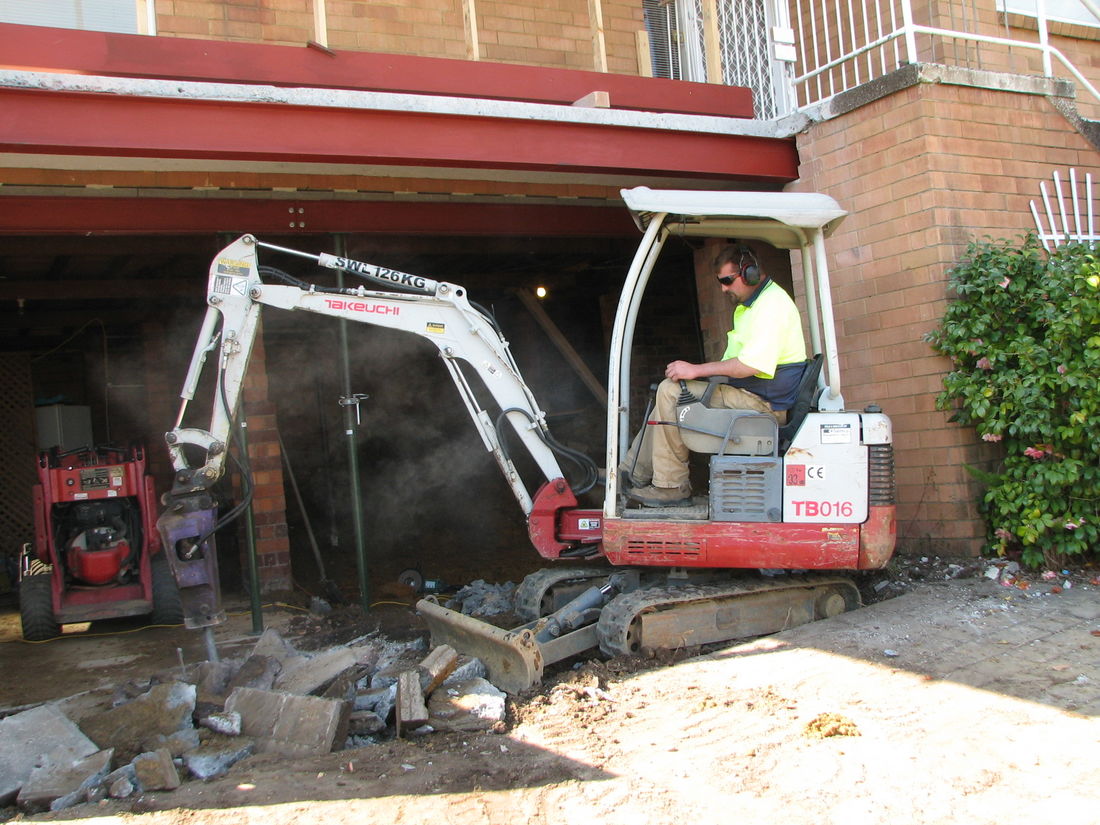
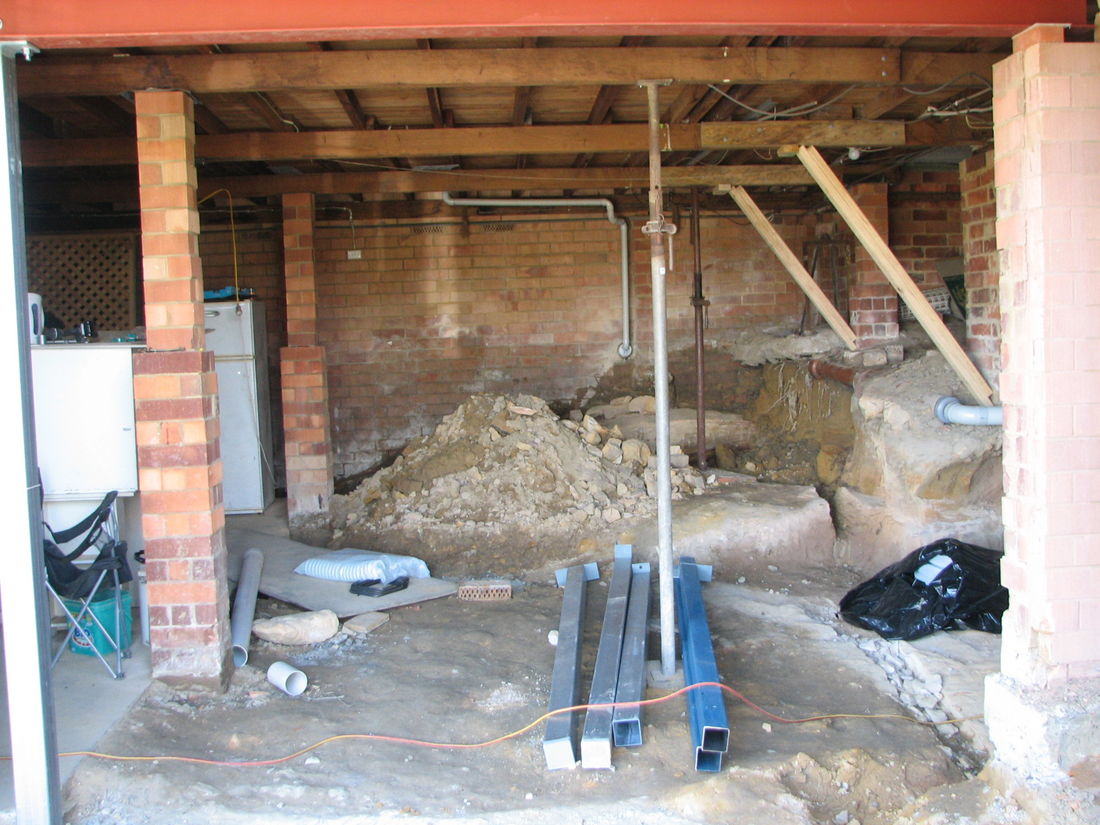
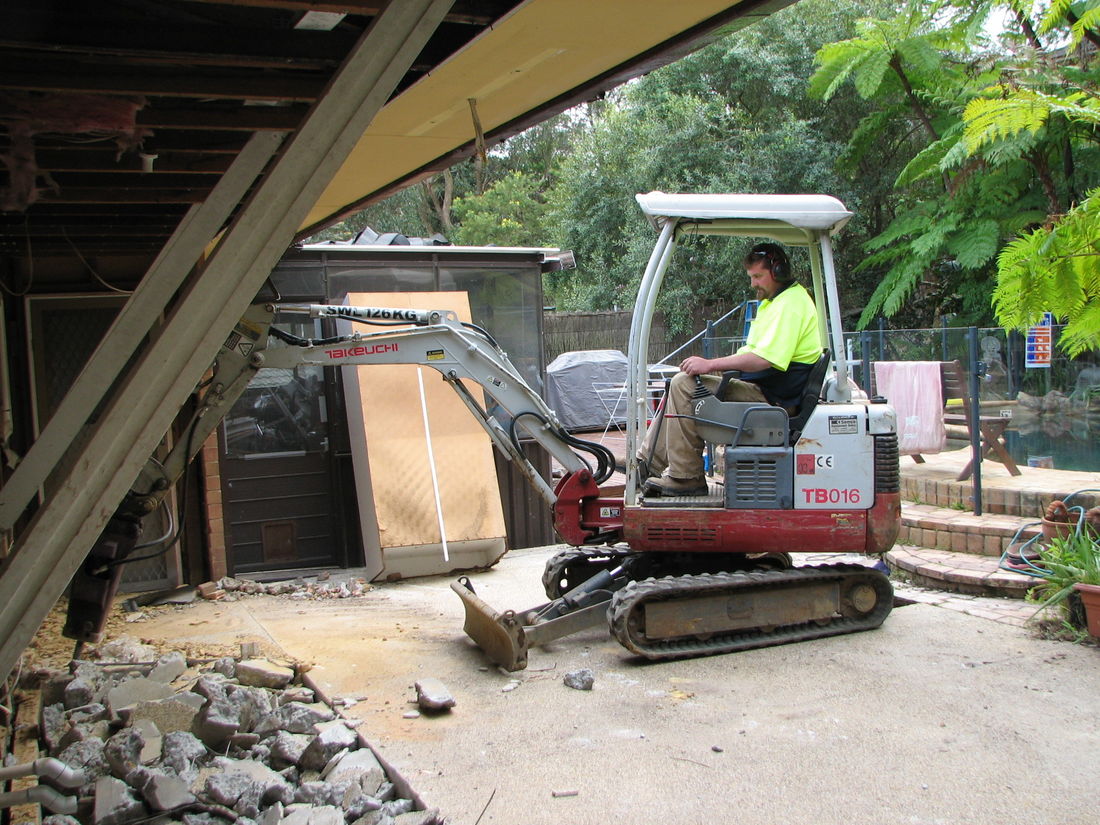
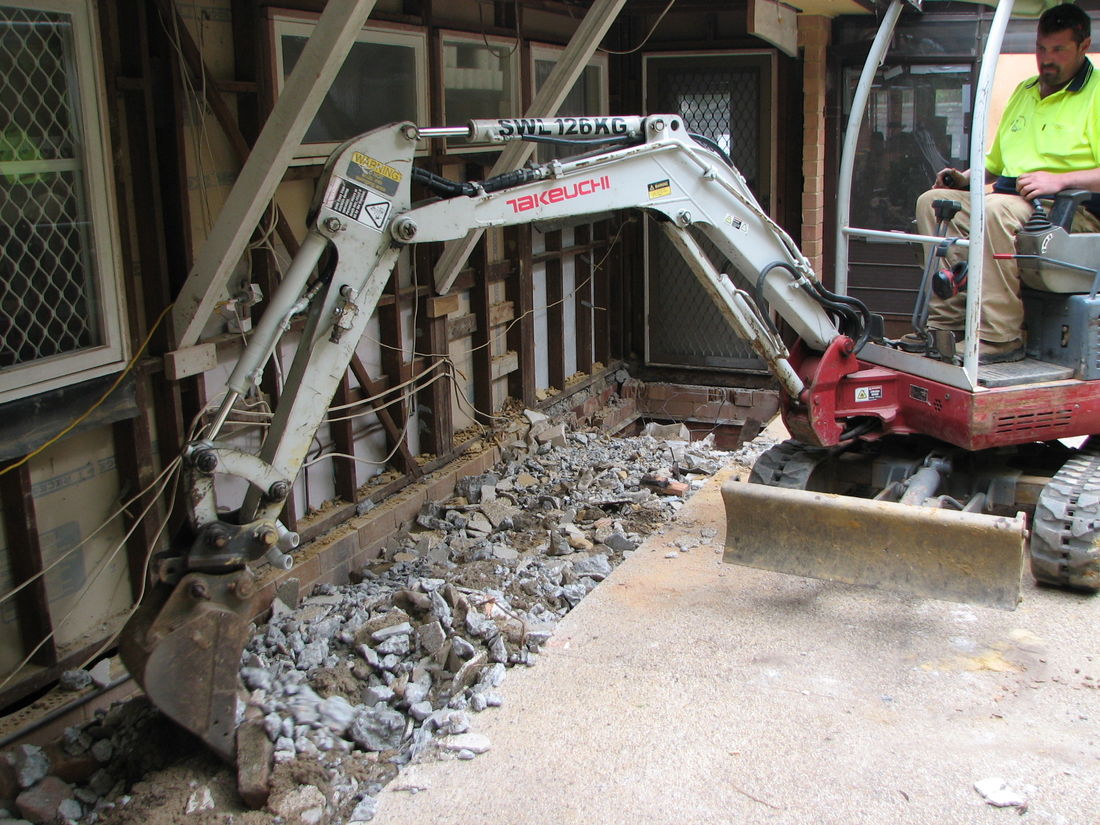
Looking below, you can see that the existing garage was extended to a double car width. Supporting beams were used to support the existing building and provision was made for the upper storey to be placed above. The existing external brickwork could then be removed. A mini excavator was used to excavate the soil to form levels for the second car space. | 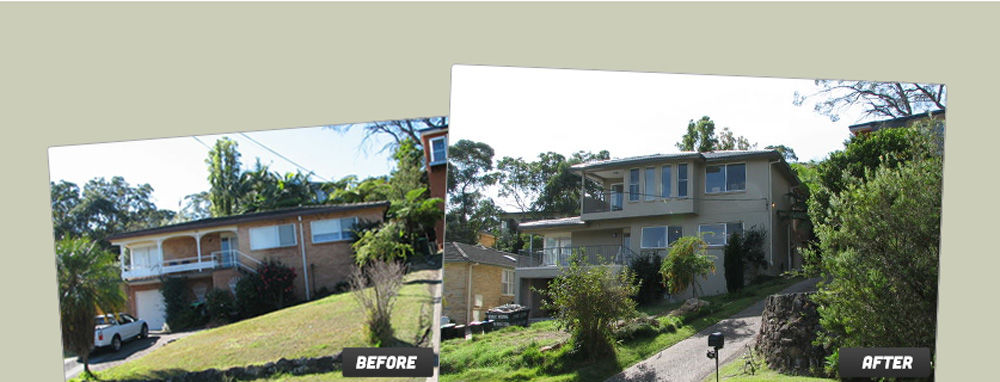 |
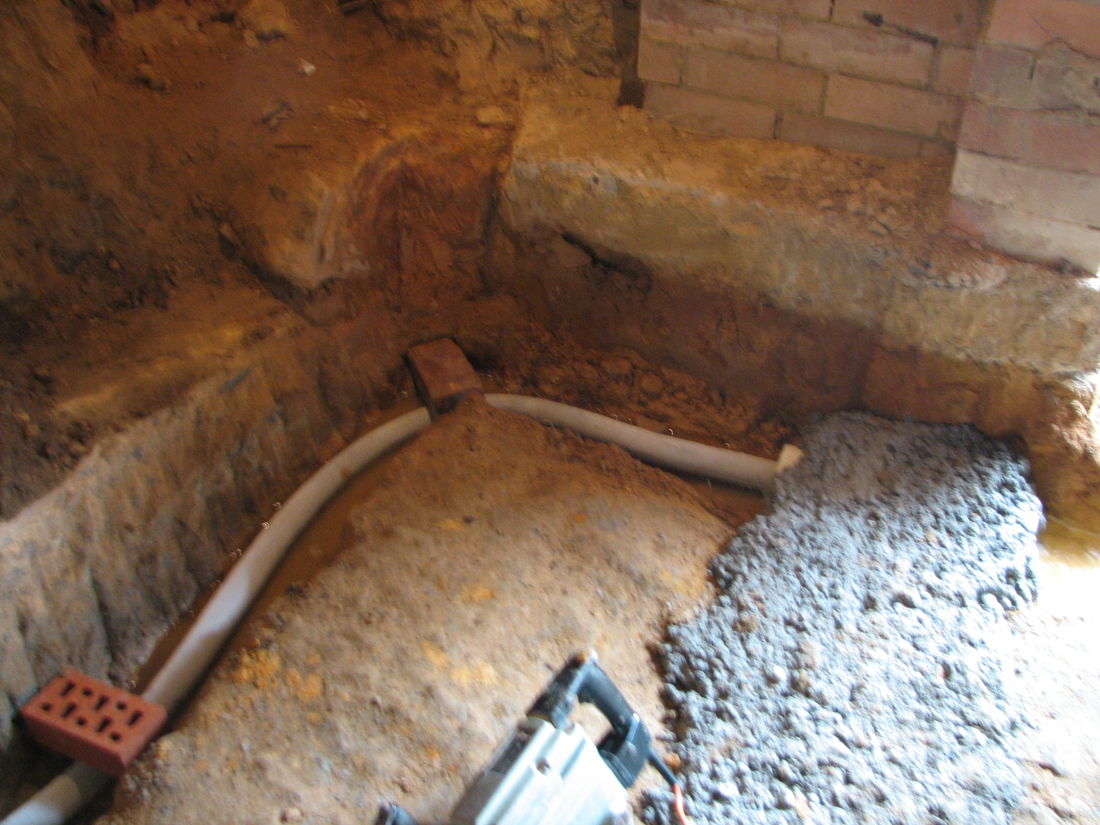
The higher soil strata at the rear of the existing garage, meant that water flowed through and on top of the existing garage slab when it rained. The only effective way to remove this water was to excavate a trench deeper than the proposed floor level and divert the water away. This trench was very effective in diversion because it was excavated almost entirely from rock. The floor slab was then poured and matched with the existing one. A drop of water has never entered this garage area again!!
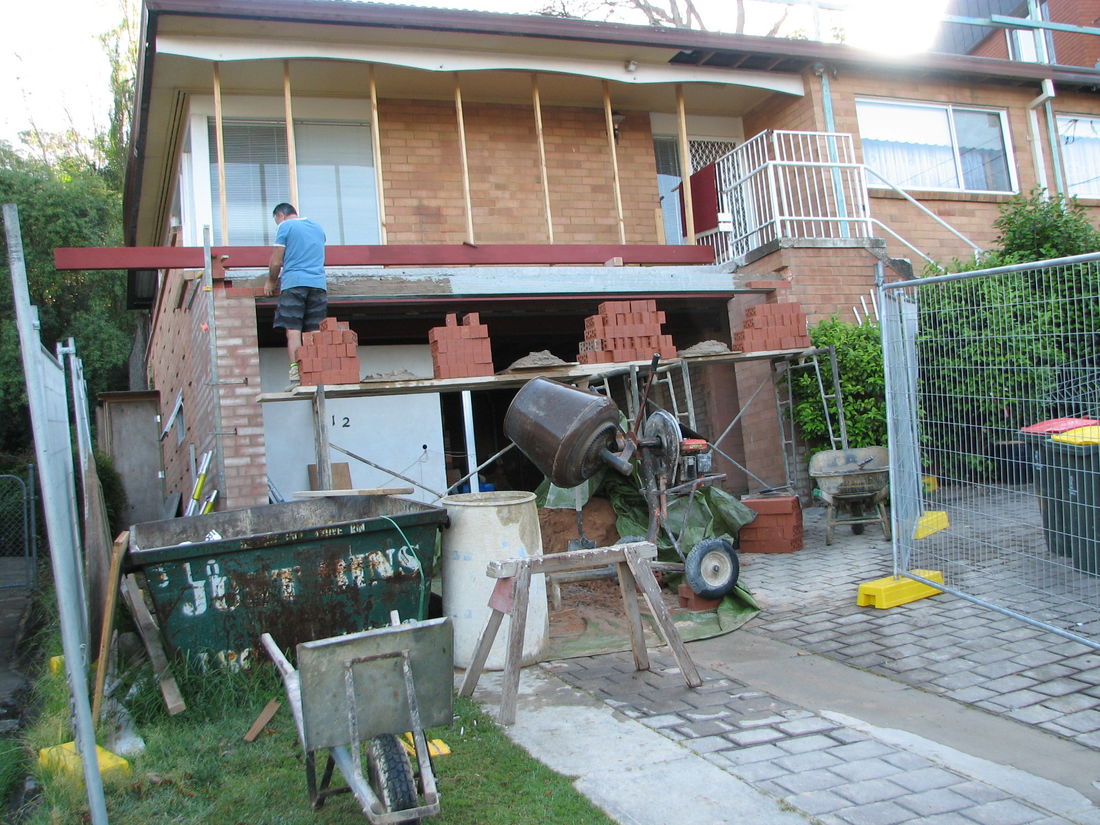
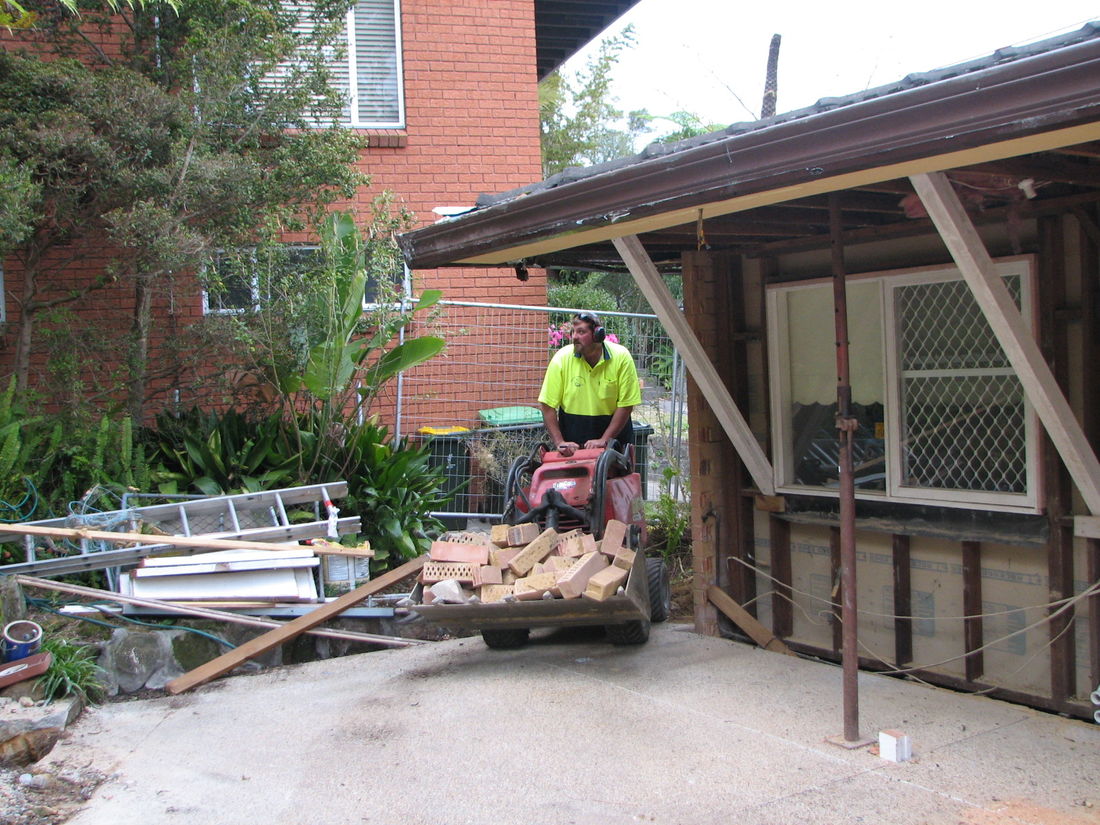
At the rear of the house, the building was to be extended a further 1.5m. This new addition was required to support the floor above, so it needed to be constructed next. The brick veneer skin and verandah posts supporting the existing roof were removed. The existing roof was propped, enabling life to continue as normal inside the home for the family. Mini excavators were used to remove the concrete paving to make way for the new "raft" floor slab. Excavated materials were carried around the front of the house for disposal.
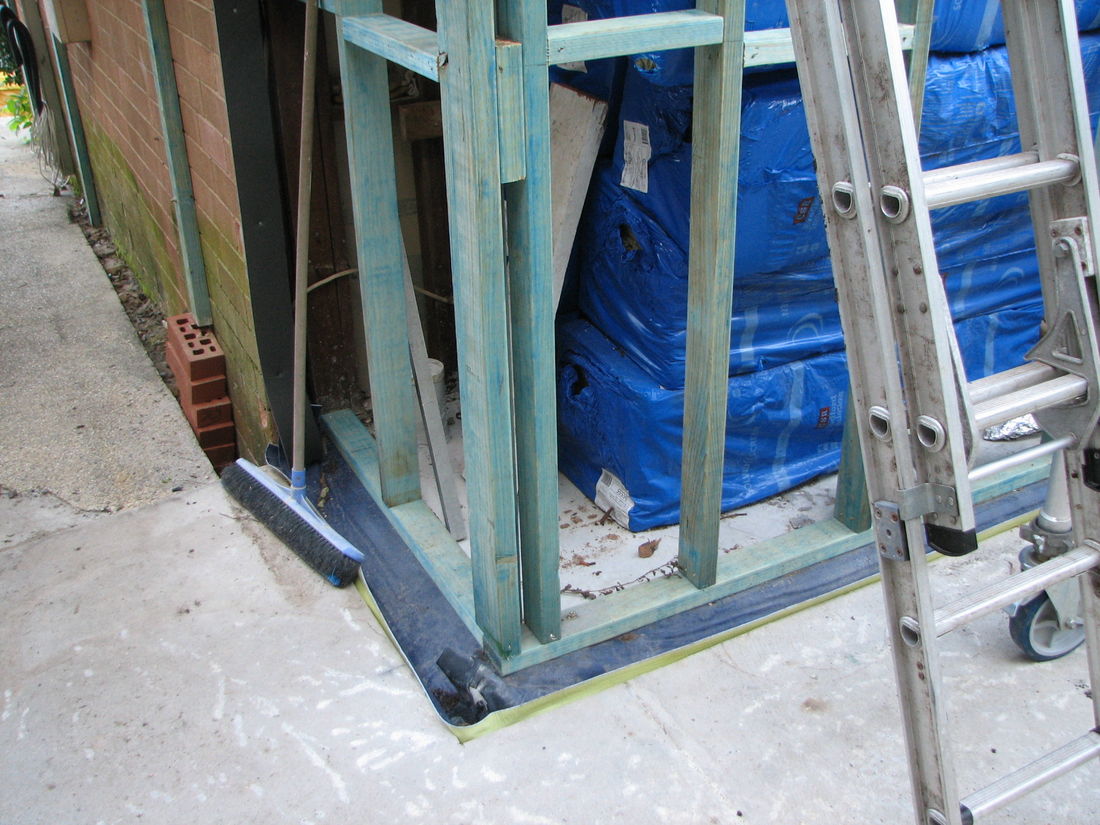
After the removal of the concrete and the excavation, the raft slab was formed up, termite protection was added and the concrete poured.
The wall frames and the external new brick veneer skin were then added, but the existing wall was left in place so that the family could continue to live in the house uninterrupted.
Meanwhile, at the front of the house, the owners had requested that the dated scalloped verandah beam be removed and replaced with a square one for a more modern look. To achieve this, the existing roof was propped, whilst the timber beam was removed and replaced with steel. The midspan posts were also removed to modernise the facade at this point. The new steel beam was later texture coated in order to blend with the rest of the completed building.
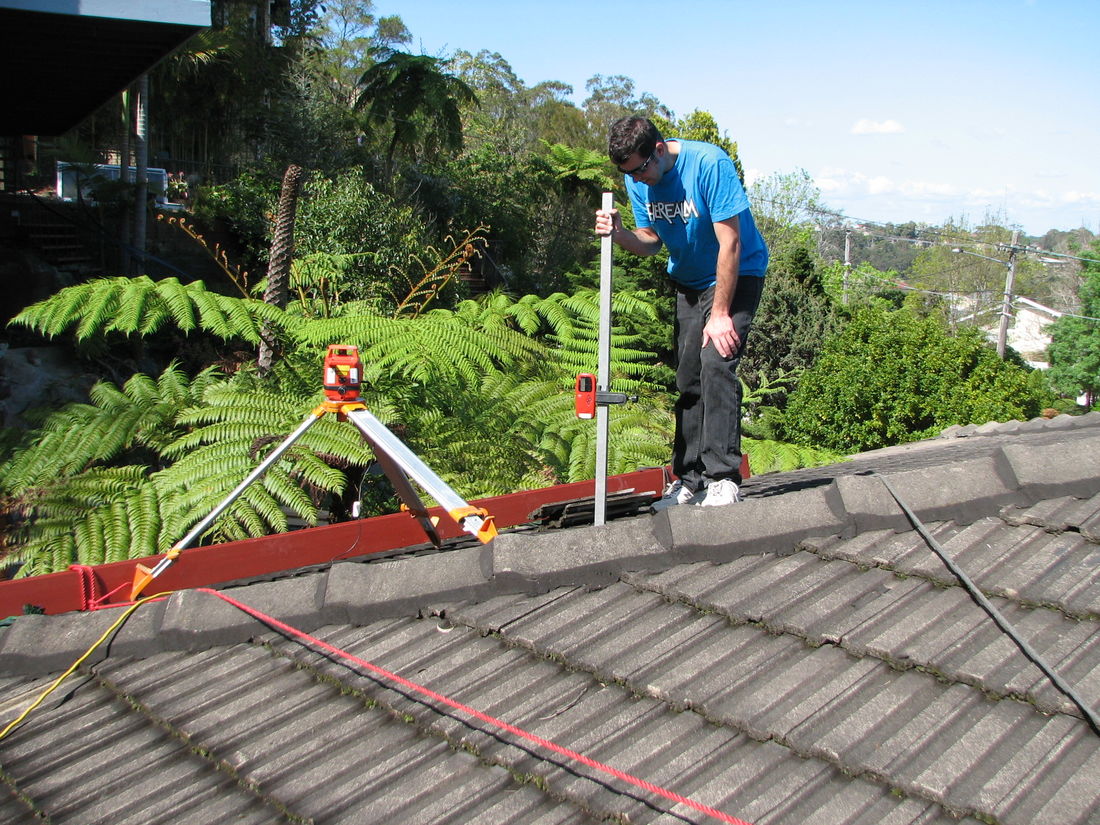
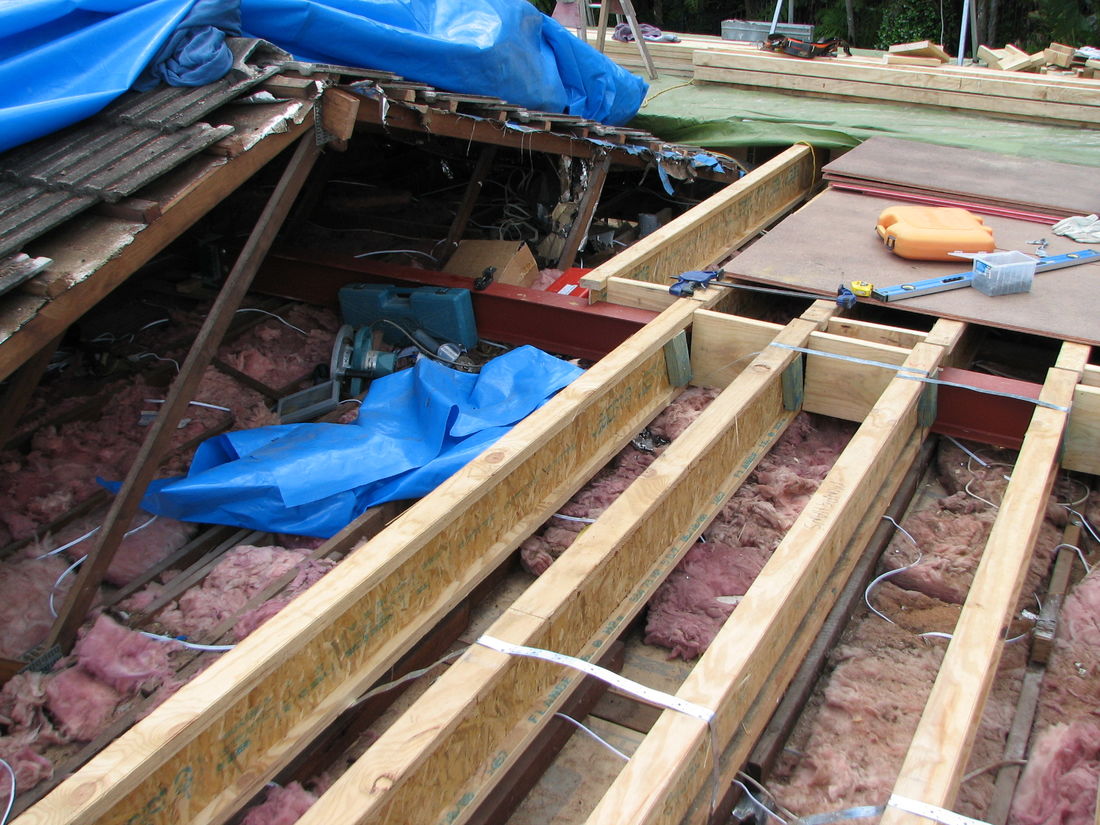
It was time to start the first floor addition. Many builders at this stage will remove the whole roof and lay a tarp on flat, and hope it does not rain for the few weeks that may be needed to get the floor down!! But at Northshore Builders, we attempt to minimise the time the roof is open to the elements by working in sections which lowers the chance of leakage should it rain. Before any roof tiles are removed, the existing roof levels and dimensions are checked and most of the floor components are pre-cut, to save time.
The next step was to lay the floor tarp over the existing roof and secure it. A tarp is more efficient when lain on a slope, so this slope is maintained for as long as possible. A double skin tarp is used when the lower levels of the house are occupied or when they are not to be altered, to ensure no leakage from rain or the elements.
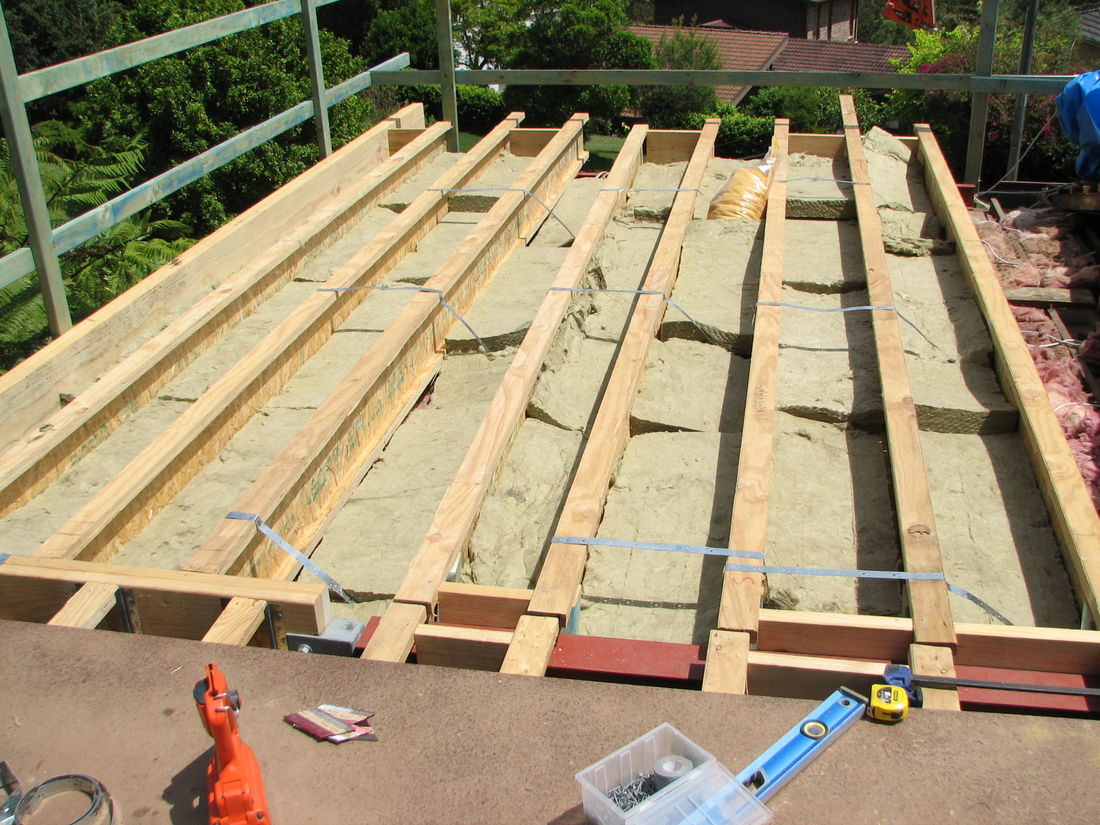
On each successive day, the tarp was folded back to reveal about 3.6 m of roof, the roof tiles were removed and roof timbers were cut out whilst the ceiling joists and existing ceiling remained intact. Pre-cut floor joists and roof beams were fixed in position, and floor sheets were temporarily laid in this section. The tarp was then laid back over and secured at the end of each day, still mostly on the existing roof and sloping to minimise leakage. The tarp was always on hand if rain struck throughout the process of the works. This ensured quality and a lack of disruption to the family whose life continued as normal in the house below except for the odd support post!
The wall frames were prefabricated and delivered on site while the floor process was occurring, so they were ready to be installed as soon as the floor was finished. These frames were lifted on to the waiting floor and erected, followed immediately by the roof trusses. Extra tarps were put over the positioned roof trusses for protection from the elements. Priority was given to covering the new roof to ensure it was water tight. The external wall cladding was texture coated Harditex.
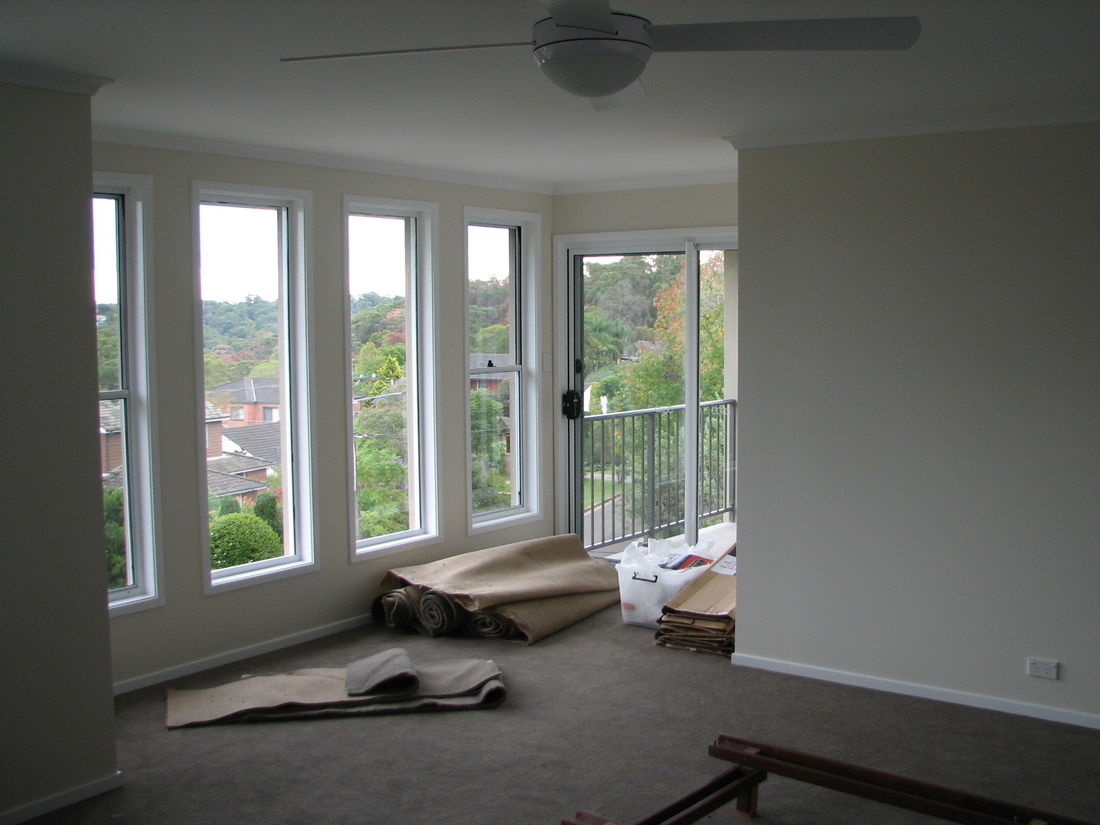
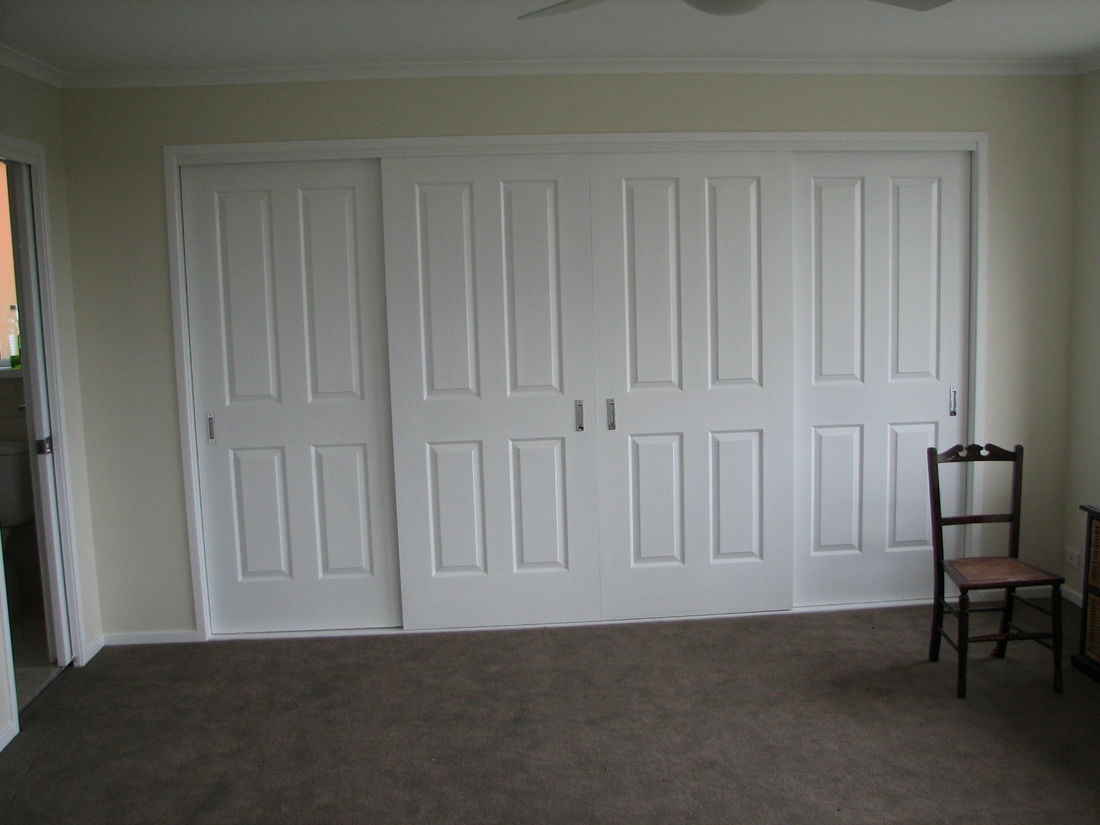
These photos show the interior to the first floor addition, Plumbing and Electrical, linings fitted, final fitout and painting. The stairwell and stairs were fitted last and the carpet laid.
The owners were then able to occupy the new works while the renovation works commenced in the lower level.
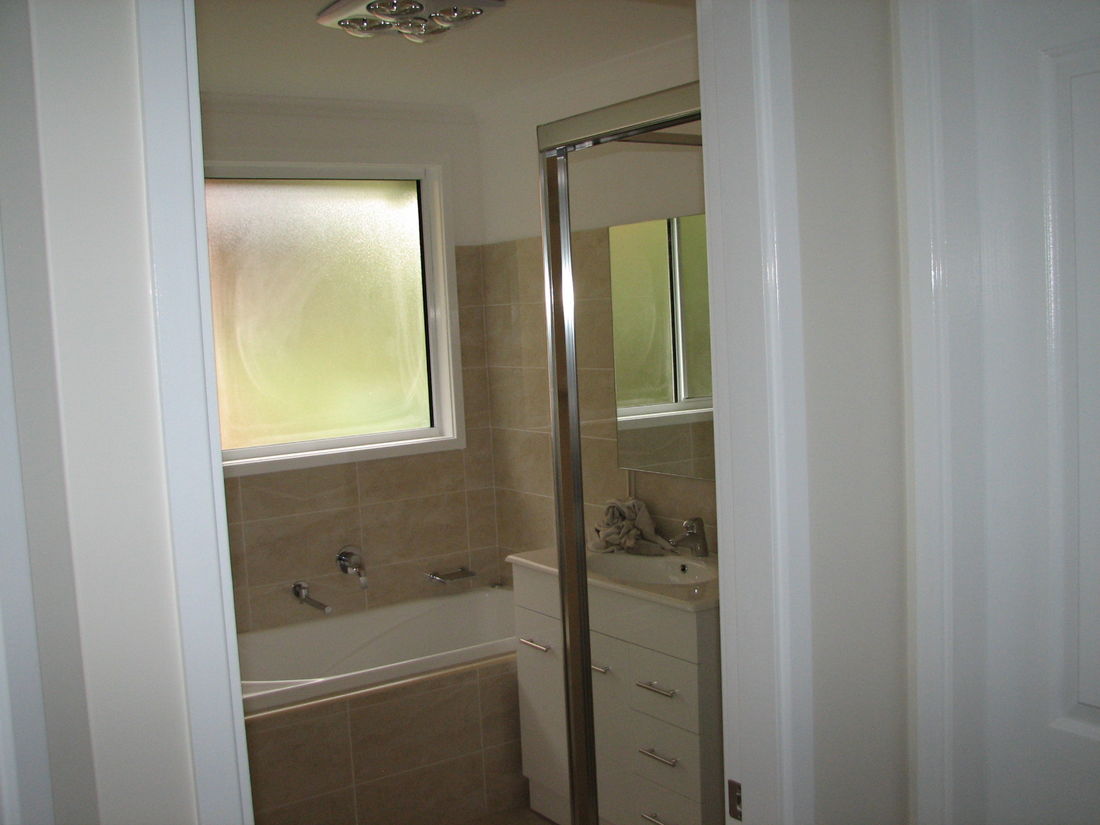
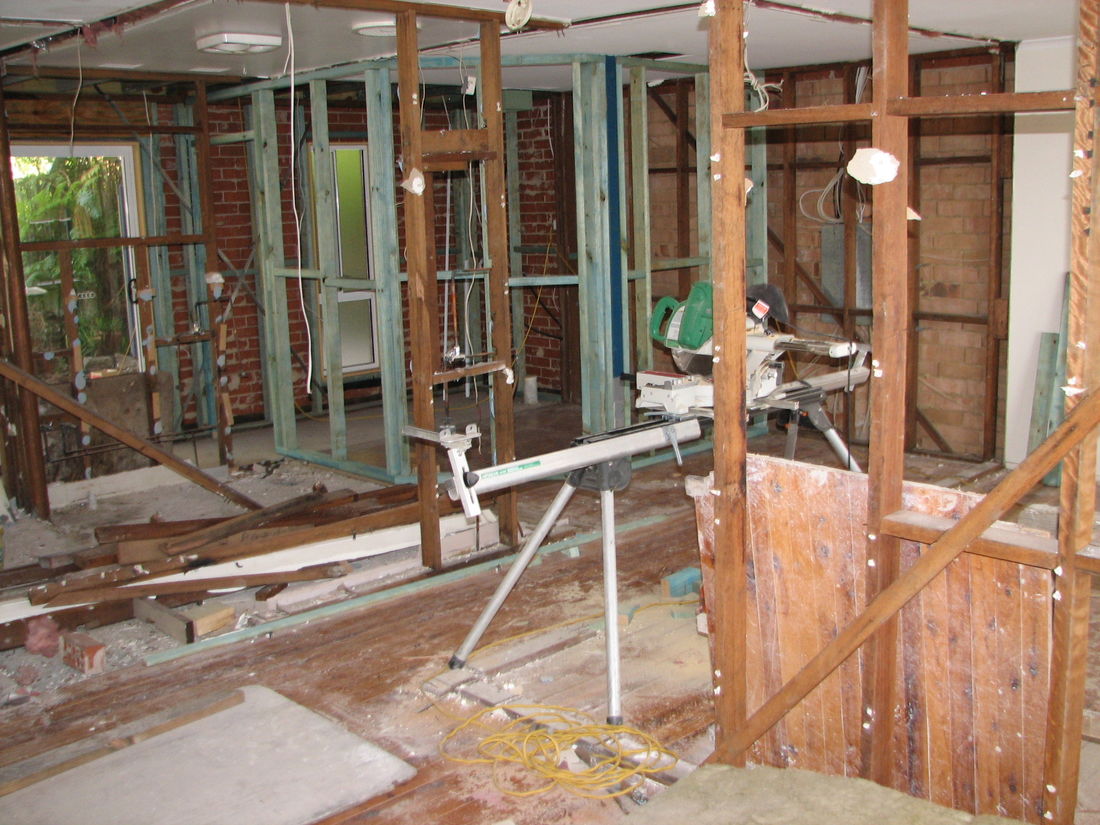
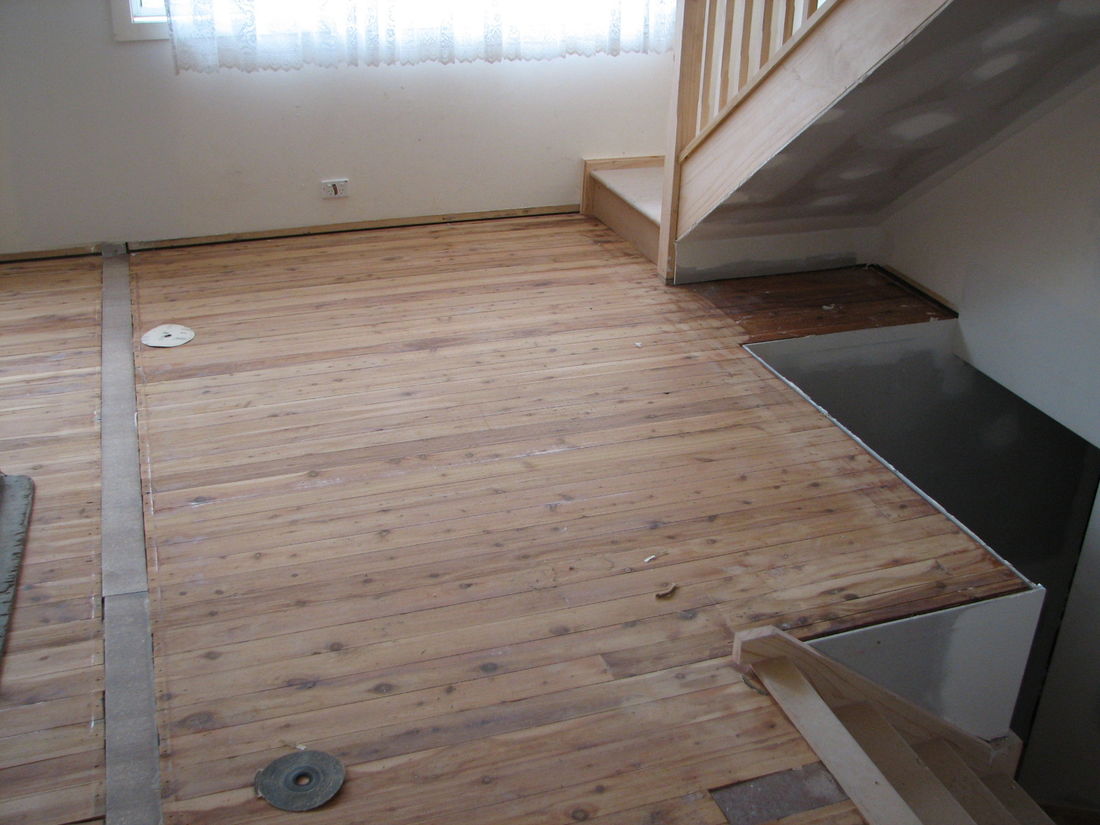
The renovation works in the lower level of the house were then commenced. The internal walls to the bedrooms were removed to form a large family room and a new kitchen, bathroom and laundry. The holes left in the floor by the removal of the existing walls were patched, and the floors sanded so that underlay could be fixed for the floor tiles. A sheet system was used for the waterproofing because it formed a bridge between concrete and timber framed structures, avoiding the unnecessary cost of removing the existing concrete slab.
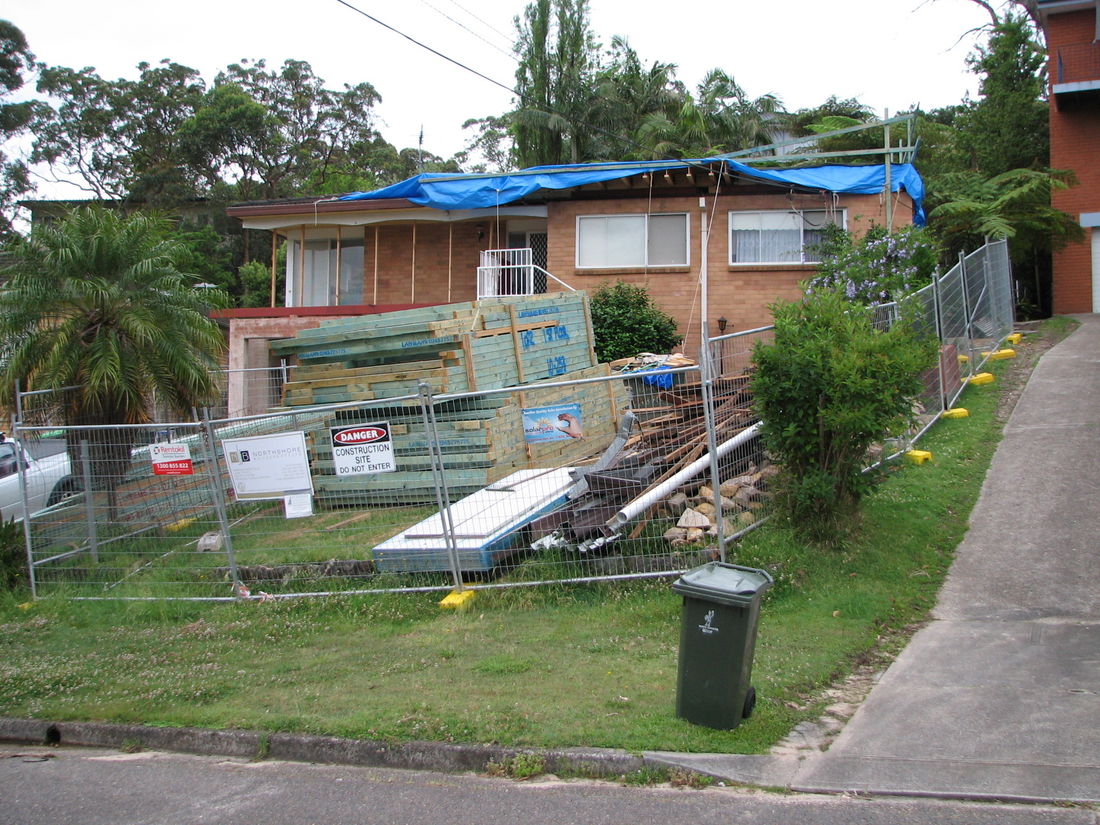
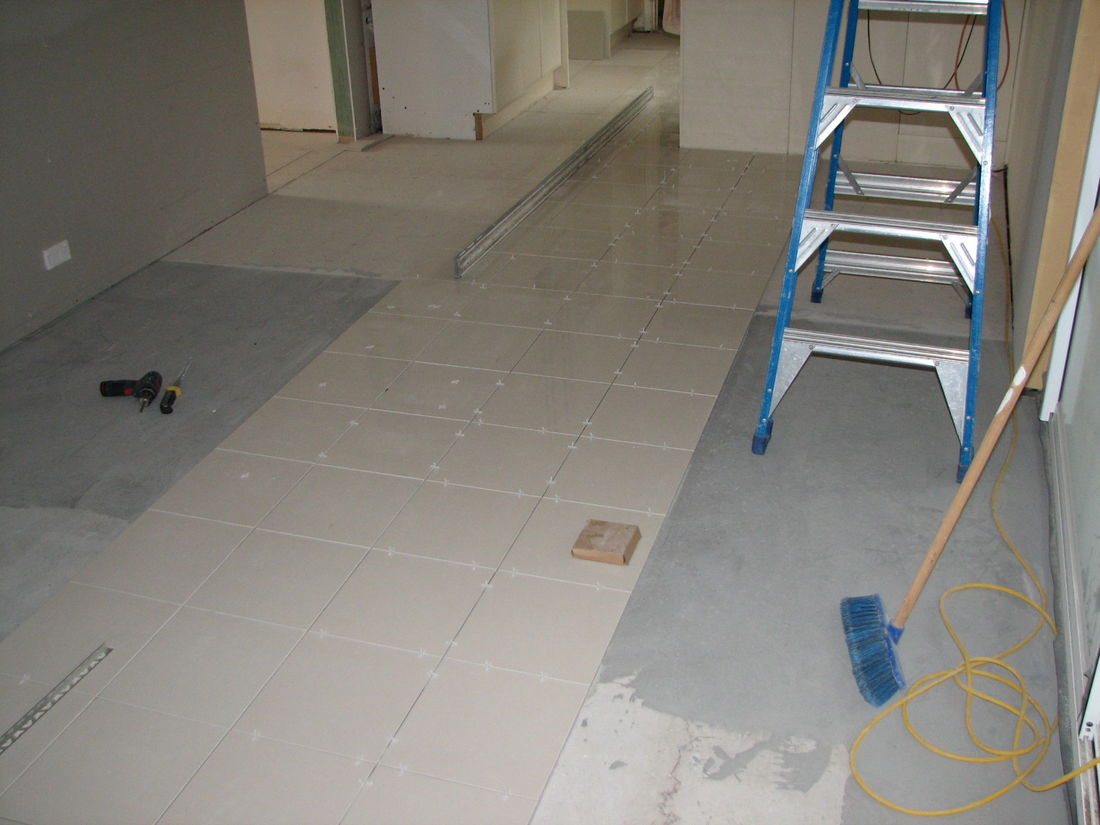
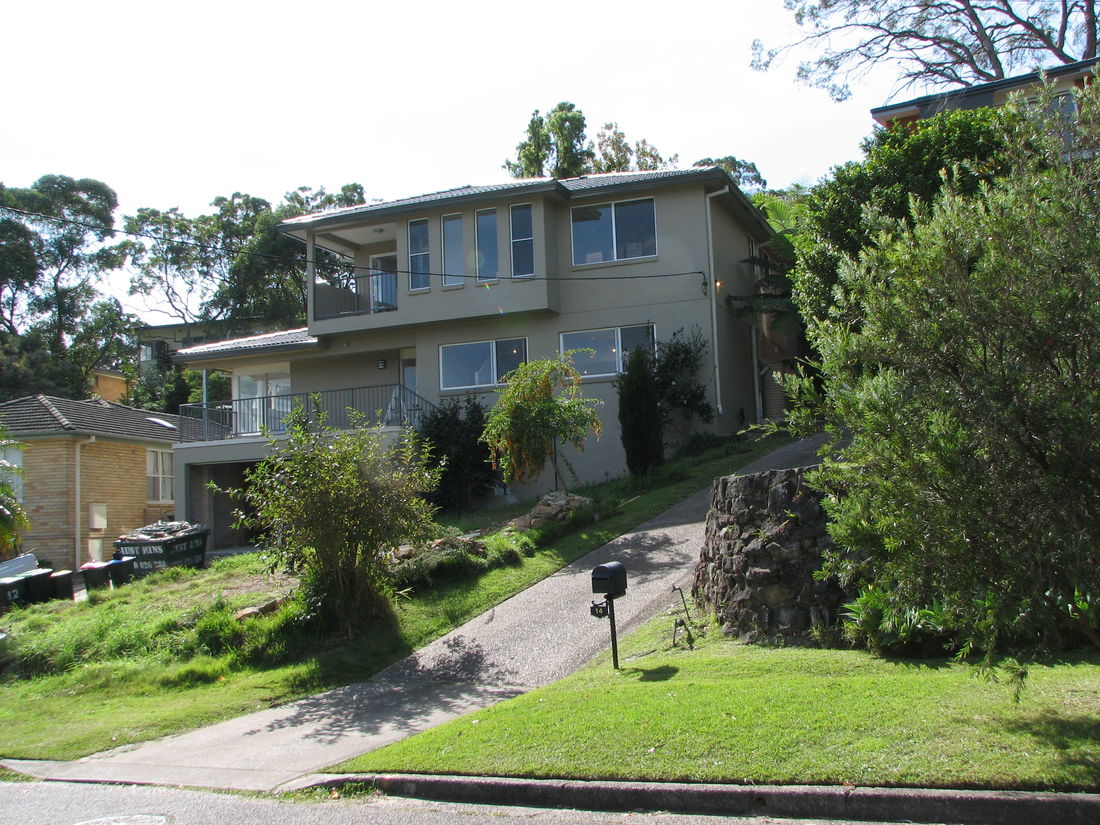
The new family area was tiled internally as shown in the photo below of the work in progress. The other photo shows the completed project from the street.
Contact Scott Andresson for any enquiries about your project by navigating to the contacts page of this site.